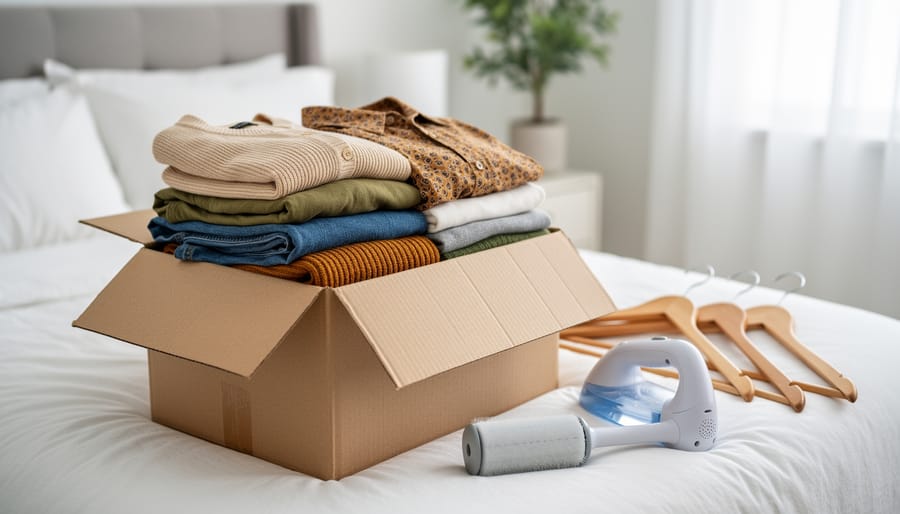
Got a thrift bundle on your doorstep? Unboxing one takes about 45 minutes, needs nothing fancier than a clean surface and a few household basics, and works best in a simple order: lay everything out, sort by type, inspect each piece, then build outfits before you decide what stays. That order matters because it turns a pile of mystery fabric into a wardrobe you can actually wear.
Here’s the thing about secondhand bundles. The excitement of ripping open the box is real, but the magic happens in the minutes after, when a random striped blazer suddenly makes sense next to those wide-leg trousers you almost didn’t notice. Skip the sorting and you end up with a heap. Follow it and you end up with outfits.
This guide walks you through the whole process, from the tools to keep nearby and a few quick safety checks before anything touches your skin or your washing machine, to the step-by-step unboxing itself. You’ll also learn how to verify what you’ve got and what to do with the leftovers. Grab a cuppa and clear some floor space.
What to Set Up Before You Open the Box: Tools and Materials
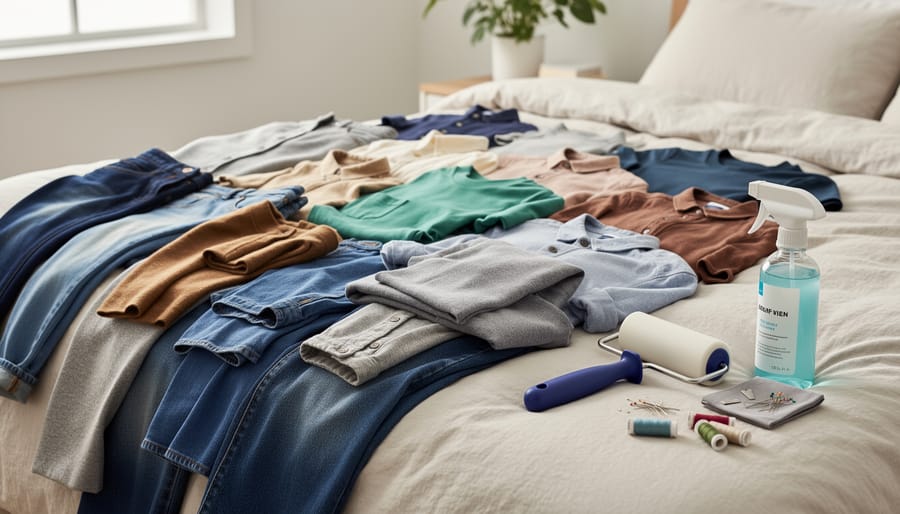
Before the box even hits your bed, a little setup saves you from chaos later. You don’t need fancy gear, just a handful of basics you probably already own. Think of it as clearing the stage for your thrifted treasures.
Here’s what I gather first:
- A clean flat surface or your made bed, so nothing touches the floor.
- Good lighting, ideally a window or a bright lamp, to spot stains and fading.
- A lint roller, or a strip of wide tape wrapped sticky-side out around your hand.
- A steamer or iron, or just hang pieces in a steamy bathroom after a hot shower.
- A small sewing kit with needle, thread, and a few spare buttons.
- Stain remover, or a dab of dish soap for fresh marks.
- A hamper or large bag for everything headed to the wash.
- Hangers, or a clean chair back for airing pieces out.
- A tape measure, or a ribbon and a ruler in a pinch.
- A notebook or your phone for jotting notes and snapping photos, though plain pen and paper works great.
Once you’ve pulled these together, set up your spaces: one for sorting, one for washing, and one for hanging. It takes maybe ten minutes, and it makes the whole unboxing feel less like a pile and more like a plan. Plus, having your photo spot ready means you’ll capture those first-reaction moments without scrambling.
Before You Dig In: Safety Warnings for Secondhand Clothing
Opening a thrift bundle is a blast, and a few quick habits keep it that way. Think of these as friendly pit-stop reminders, not rules to stress over.
Start with the basics: every piece goes through the wash before it touches your skin. Consumer Reports explains why it’s smart to wash new clothes first and that goes double for pre-loved ones. If your bundle smells musty or feels damp, slip on a pair of gloves while you sort, and keep an eye out for fuzzy spots or dark specks that could be mildew.
Pockets are sneaky. Run your fingers carefully through each one, since pins, needles, and little sewing surprises love to hide there. Before you attack a stain or try a dye, test it on a hidden spot like an inner seam so you don’t surprise yourself later.
Letting go of a tricky piece isn’t a failure, it’s smart thrifting. Save your energy for the pieces with real potential, like the ones that will shine in your next round of ensemble fashion.
Step-by-Step: Unboxing, Sorting, and Styling Your Thrift Bundle
Unbox and Sort into Four Piles
Start by dumping everything onto your bed or a clean floor and spreading it out so you can see each piece. Then make four piles: Keep, Fix, Swap or Sell, and Pass.
Go with your gut first. If a piece makes you smile, toss it in Keep. If you love it but it needs a loose button or a quick wash, that’s Fix. Cute but not your style or size? Swap or Sell. And if it just doesn’t spark anything, it goes in Pass, with zero guilt. Not every piece has to be a winner.
Here’s why I never rush this step. I once nearly missed a buttery camel blazer that was crushed at the very bottom of a bundle I’d ordered when I decided to shop online thrifts for the first time. It had a tiny wrinkle and a funny smell, so I almost tossed it. Instead, it became the backbone of three outfits and my most-worn jacket of the year.
Keep your pace easy, trust your first reaction, and save the detailed inspecting for the next step.
Inspect Fabrics, Fit, and Flaws
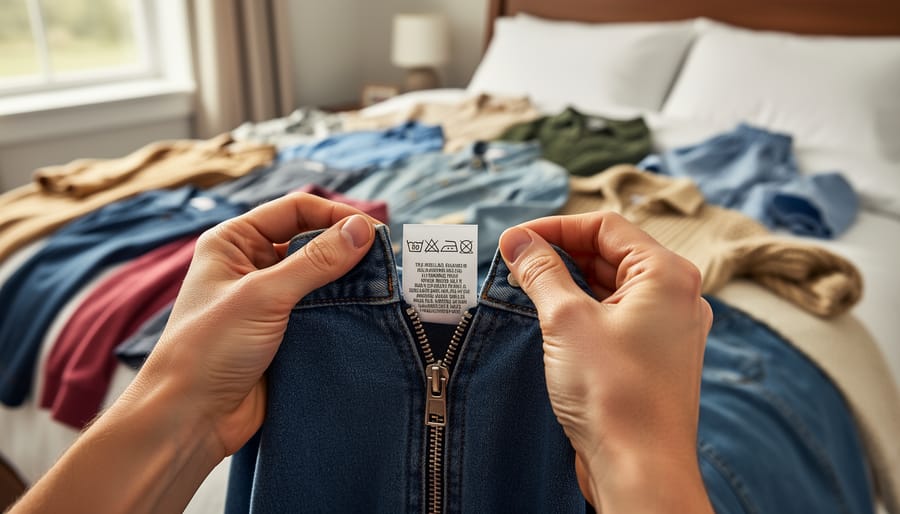
Grab your Keep and Fix piles and give each piece a quick once-over. You don’t need a trained eye, just a few minutes and good light.
Start with the seams. Gently tug along the shoulders, sides, and crotch area; if stitches pull apart or you see little gaps, that’s a flag. Run the zipper up and down a couple of times, and make sure buttons are all there and snug. Flip the garment inside out and check the underarms, since sweat stains and thin, worn fabric love to hide there. Then look at the hems for fraying or uneven edges.
Next, read the care tag. It tells you what the fabric is and how it likes to be washed, which helps you decide if a piece will fit your real life. Then do the feel test. Good fabric usually feels smooth and springy, while rough, stiff, or see-through spots mean it’s tired.
Finally, try it on or hold it up against a tape measure. A beautiful piece that doesn’t fit your body is just a pretty hanger.
As a rule of thumb, a loose button, a small hem drop, or a light stain is an easy fix. Ripped seams in stress spots, a broken zipper in a thick coat, or fabric that’s worn thin is usually a gentle “pass.”
Refresh and Repair Your Keepers
Once your keepers are chosen, give them a little TLC before they hit your closet. Start with the care tag: if it says machine wash, pop the piece in on a gentle cycle. If it says dry clean only or the fabric feels delicate, a clothing steamer or a hot shower’s steam will freshen it up nicely.
Pilly sweaters bounce back fast with a fabric shaver or a clean disposable razor glided lightly over the surface. For lingering odors, hang pieces outside in fresh air for a few hours, or soak them in cool water with a splash of white vinegar before washing. Baking soda in the wash works wonders too.
Loose button? Thread a needle, knot the end, and stitch through the holes four or five times, then tie off underneath. A droopy hem can be tacked with a few small, loose stitches, and no one will ever see them. Don’t worry about perfection here; wonky stitches are part of the charm.
Not a sewing person? No problem at all. Fabric tape holds a hem in place with just an iron, and a dab of fabric glue can secure a peeling patch or a snagged trim. Test glue on a hidden spot first.
Even five minutes of fixing can turn a good find into a great one.
Mix, Match, and Build Your Ensembles
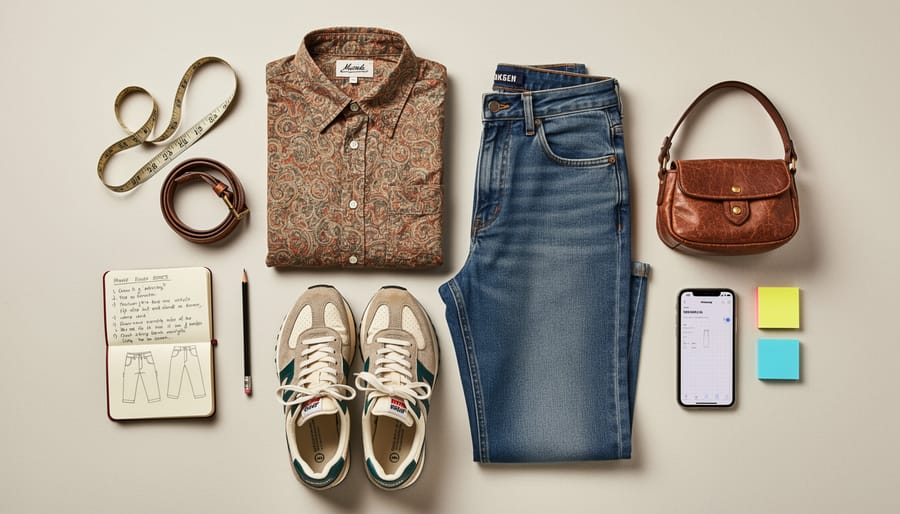
Here’s where the real magic happens. Grab your keeper pile and start with one standout piece, maybe that bold printed blouse or the vintage denim jacket you can’t stop petting. Build around it instead of trying to match everything at once.
Next, pair your star with neutral basics. A plain tee, black trousers, or a simple skirt lets the showpiece shine without competing. Then play. Try mixing colors you wouldn’t normally put together, or pair a chunky knit with something flowy for contrast. Texture is your secret weapon: corduroy with silk, denim with lace, soft cotton with a crisp collar.
Proportion matters too. If the top is roomy, balance it with something fitted below. If you’ve got a long cardigan, try a shorter hem underneath. Layering is the trick for stretching one piece across seasons. That lightweight dress works over a turtleneck and tights in winter, then stands alone in July.
Set yourself a friendly goal: aim for a handful of complete outfits from one bundle, say five to seven looks. Lay each one out on the bed or snap a quick phone photo so you remember it.
And don’t forget your existing closet! Your favorite jeans, a trusty belt, or boots you already own can pull a thrifted piece into your everyday style. Mixing old and new is how a random pile becomes a wardrobe that feels like you.
Check Your Work: Verifying the Haul and Planning Next Steps
Once your keepers are washed and ready, put each outfit on and snap a quick photo. Photos show you what the mirror hides, like a hem that sits oddly or a color combo that works better than you expected. Count how many wearable looks you pulled from the bundle. Then do the math: divide what you paid by the number of outfits. A $30 bundle that gives you eight outfits comes out to under $4 a look, which is a pretty sweet payoff.
Now for the Swap and Pass piles. Anything in good shape can be resold online or brought to a clothing swap with friends. If you’d rather give pieces a second life elsewhere, donate clothing that’s clean and wearable. Worn-out items can go to textile recycling, or you can get crafty and turn them into upcycled scarves, patches, or tote bags.
Thinking about your next bundle? Notice which pieces you reached for most, then shop for more of those. If you love hunting in person, these Goodwill Outlet tips can help you sharpen your eye.
Thrift Bundle Unboxing Questions, Answered
Got a bundle on the way (or already sitting on your bed)? These are the questions I hear most from fellow thrifters.
Are thrift bundles actually worth it?
Usually, yes, if you judge them by outfits instead of single pieces. Even when a few items miss, a handful of keepers can bring your cost per outfit well below buying one new top.
How can I tell if a bundle will suit my size and style?
Look for sellers who let you pick sizes, colors, or a style theme, and check the measurements listed instead of trusting the tag alone. If the seller shares photos of past bundles, that’s a great preview of what you might get.
What should I do about odors?
Air pieces out for a day, then wash them. Stubborn musty smells often fade after a wash with a splash of white vinegar, but strong smells that linger are a good reason to pass the piece along.
Should I wash everything before trying it on?
Wash first whenever you can, since it’s the easiest way to freshen secondhand clothes. If you’re just checking fit, a quick try-on over a thin layer is fine, but give the piece a proper wash before wearing it out.
How do I build a cohesive look from random pieces?
Start with your favorite standout item and pair it with neutral basics, like jeans or a plain tee. Repeating one color or texture across a few pieces ties the whole outfit together.
Still wondering about something that didn’t make the list? Chances are another thrifter has been there too, so don’t be shy about asking. Every bundle teaches you a little more about what works for you.
Every thrift bundle is a little adventure, and the best part is never knowing what’s waiting at the bottom of the box. Whether you ended up with a standout jacket, a handful of dependable basics, or a few quirky pieces that sparked a new idea, you’re now well on your way to Building Fashion Ensembles with Thrift Finds. Keep your piles sorted, your tape measure handy, and your sense of play switched on.
Now we’d love to see what you found! Share your unboxing surprises and your favorite outfit combos, and let’s inspire each other to keep thrifting happily.