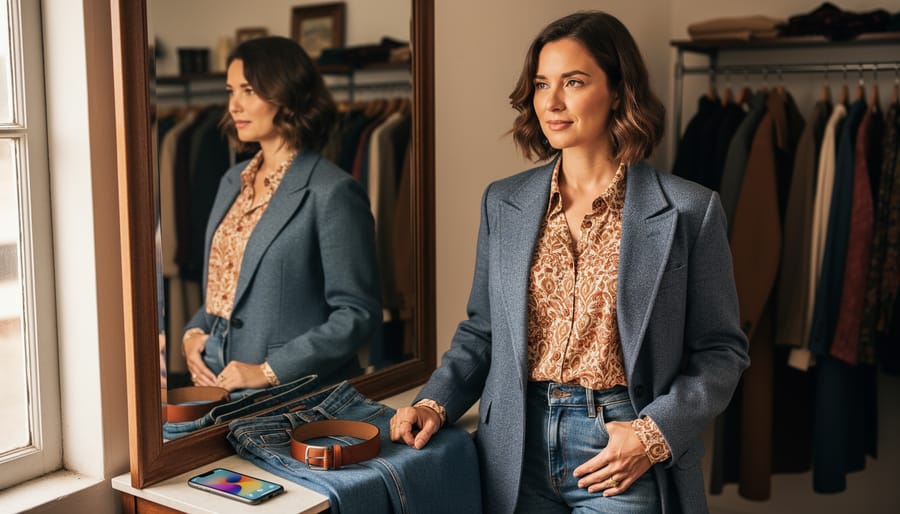
Creating a cohesive ensemble from thrift store finds takes three essential skills: spotting pieces with complementary colors and textures, understanding your personal style baseline, and knowing how to layer items so they feel intentional rather than random. Most thrifters make the mistake of grabbing individual items they love without considering how those pieces will work together, which leads to a closet full of orphaned garments that never get worn. The solution is simple but requires a shift in mindset: shop with outfits in mind, not just standalone pieces.
Building complete outfits from secondhand clothing isn’t about luck or having an innate fashion sense. It’s a learnable process that starts before you even walk into the store. You’ll need a color palette reference (even a photo on your phone works), measurements of your favorite existing pieces, and a clear vision of the gaps in your wardrobe. Once you’re browsing the racks, the real work begins: evaluating quality, checking that prints and patterns play well together, and mentally assembling combinations on the spot.
The beauty of this approach is twofold. You’ll spend less money overall because you’re buying pieces that actually get worn, and you’ll develop a signature style that reflects who you are rather than what’s trending. Thrift stores offer an unmatched variety of eras, cuts, and aesthetics all in one place, which means you can experiment with mixing vintage blazers, modern denim, and quirky accessories without the premium price tag. This guide walks you through the entire process, from what to bring on your thrifting trip to how to test whether your ensemble actually works before you leave the dressing room.
What You’ll Need to Build Thrift Store Ensembles
Walking into a thrift store without a plan is like grocery shopping hungry, you’ll grab everything that looks good but struggle to make a meal. The right tools turn scattered browsing into strategic ensemble building.
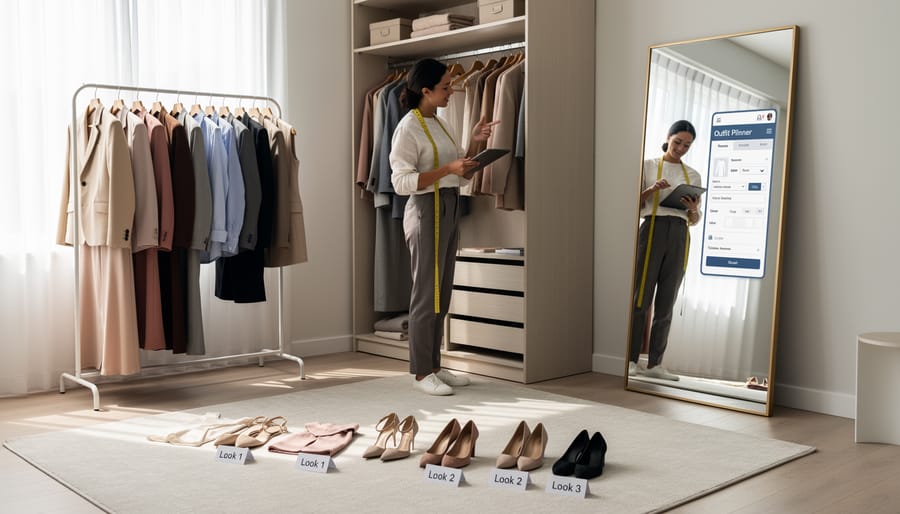
Start with the basics that fit in your bag or pocket. A soft measuring tape helps you quickly check garment dimensions against pieces you already own, which matters when you can’t always try everything on immediately. Your smartphone does triple duty: snap photos of items you’re considering to see how they look together, pull up your inspiration boards while you shop, and check current prices if you’re considering designer finds. Bring at least two reusable bags, one for definite purchases and another for maybes you want to reconsider before checkout.
Here’s what I carry on every thrift shopping trip:
- Soft measuring tape and a list of my key body measurements
- Smartphone loaded with Pinterest boards and a color wheel app
- Two sturdy reusable bags for sorting purchases
- Small notebook or phone notes app for tracking finds and prices
- Breath mints (trust me, thrift stores can get stuffy during long hunts)
- Hand sanitizer for freshening up between racks
Optional but useful: tuck a small sewing kit with safety pins and a seam ripper into your bag. This lets you assess whether a loose button or wonky hem is fixable in five minutes or needs professional help. I also keep a lint roller in my car for post-shopping outfit checks.
Before you leave home, spend ten minutes creating a quick mood board on Pinterest or Instagram. Save five to ten outfits that capture the vibe you’re chasing. These references keep you focused when you’re surrounded by thousands of options, helping you recognize pieces that actually fit your vision instead of just looking interesting in isolation.
Thrift Shopping Safety and Smart Shopping Tips
Before you dive into the racks to find hidden treasures a few smart shopping habits will save you time, money, and potential health headaches. Always check for stains and odors before you buy. Hold each piece up to the light, inspect seams and underarms, and give it a quick sniff. If something smells musty or has set-in stains that won’t budge with a normal wash, pass on it. Fabrics like leather, suede, or anything with heavy embellishments can be nearly impossible to clean properly at home, so factor in professional cleaning costs before you commit.
Set a firm budget for each thrifting trip and stick to it. The thrill of a good deal can make you rationalize purchases you don’t actually need, leaving you with a closet full of random pieces that never form a complete outfit. If an item doesn’t fit your current ensemble plan, your existing wardrobe, or your genuine style, it’s not a deal at all. Learning when to walk away is just as important as knowing what to grab.
Step-by-Step: Creating Your Thrift Store Ensemble
Step 1: Start with Your Statement Piece
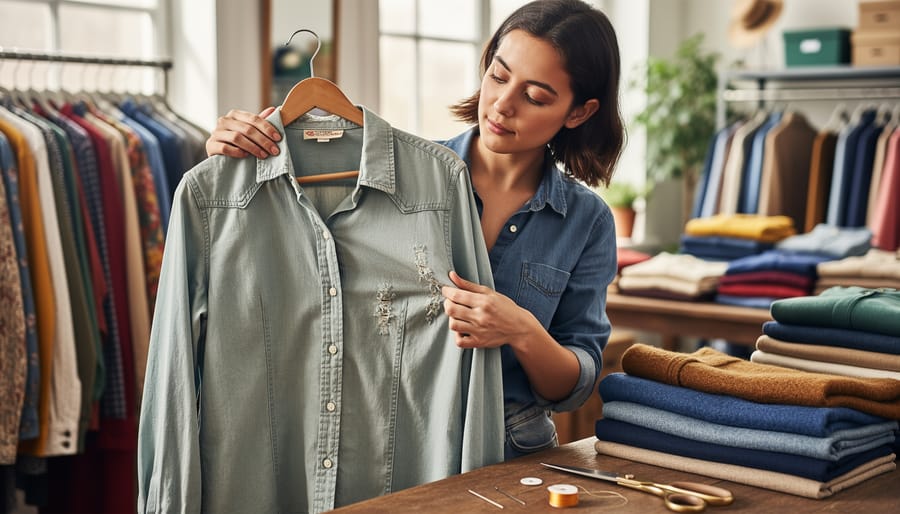
Your statement piece is the outfit’s anchor, the item that catches your eye and sparks the whole look. Walk through the racks slowly and pay attention to what makes you stop. Maybe it’s a jewel-toned velvet blazer, a vintage floral midi dress, or a geometric-print blouse. Whatever pulls you in, hold onto it.
Check the construction before you commit. Turn the garment inside out and examine the seams, are they straight and secure? Look at the fabric content on the tag. Natural fibers like wool, silk, cotton, and linen typically outlast polyester and hold their shape better through multiple wears. Run your hand over the material to feel for thinning or weak spots.
Now test its versatility. Can you picture this piece with jeans and sneakers for casual days, then dressed up with trousers and heels? A truly strong statement piece works across multiple settings without demanding a complete wardrobe overhaul.
The fit matters more than the size on the label. Shoulders should align with yours, and you need enough room to move comfortably. Minor adjustments like hemming or taking in a waist are manageable, but avoid anything requiring major reconstruction.
Trust your gut. If you keep coming back to a piece as you continue shopping, that’s your statement item calling.
Step 2: Build Around a Color Story
Once you’ve got your statement piece, pull out your phone and snap a photo of it. This’ll be your color reference as you move through the racks.
Look closely at your piece and identify 2-3 colors you want to work with. If you’ve chosen a floral blouse with burgundy flowers on a cream background, you might pull burgundy, cream, and maybe a soft green from the leaves. These become your shopping targets.
I learned this the hard way during my first serious thrift haul. I’d found this incredible mustard corduroy blazer but kept grabbing random pieces I liked, purple pants, a red striped shirt, turquoise accessories. Nothing worked together. The next week I came back with a plan: mustard, navy, and cream only. Within an hour, I’d assembled three complete outfits that all coordinated beautifully.
Here’s the practical part: as you browse, hold potential pieces up to your phone screen showing the statement item. Does the blue in these jeans match the blue trim on your jacket? Perfect. Is this “tan” actually more orange-beige while your statement piece is cool-toned taupe? Put it back.
Stick to your color story ruthlessly at first. You can always add a controlled pop of contrast later, but building that initial harmony gives you confidence. Neutrals like black, white, grey, and denim are your friends, they bridge everything together without competing.
The best part? Thrift stores have every color imaginable, so you’re never limited by what’s trending this season.
Step 3: Add Your Basics and Layers
Once you’ve nailed your statement piece and color story, it’s time to flesh out the outfit with basics that let those focal points shine. Head to the racks of neutral jeans, trousers, and simple tops, black, white, navy, gray, and beige are your friends here. A pair of well-fitting dark wash jeans can anchor almost any thrift store treasure, while a crisp white button-down or plain black tee provides the perfect backdrop for a bold vintage blazer or patterned skirt.
Don’t overlook the layering section. Cardigans, blazers, and lightweight jackets add dimension without stealing the show. I once paired a wild leopard-print blouse with a camel-colored thrift store blazer and straight-leg black trousers, the blazer grounded the whole look and made it work-appropriate. Look for classic cuts in solid colors that you can style multiple ways.
If you’re crafty, you can even add crochet layers to customize secondhand pieces. Test each basic against your statement item right there in the store. Hold them together, check the proportions. The goal is harmony, your basics should complement, not compete. If a piece draws your eye away from the star of the show, put it back and keep hunting.
Step 4: Hunt for Accessories That Tie It Together
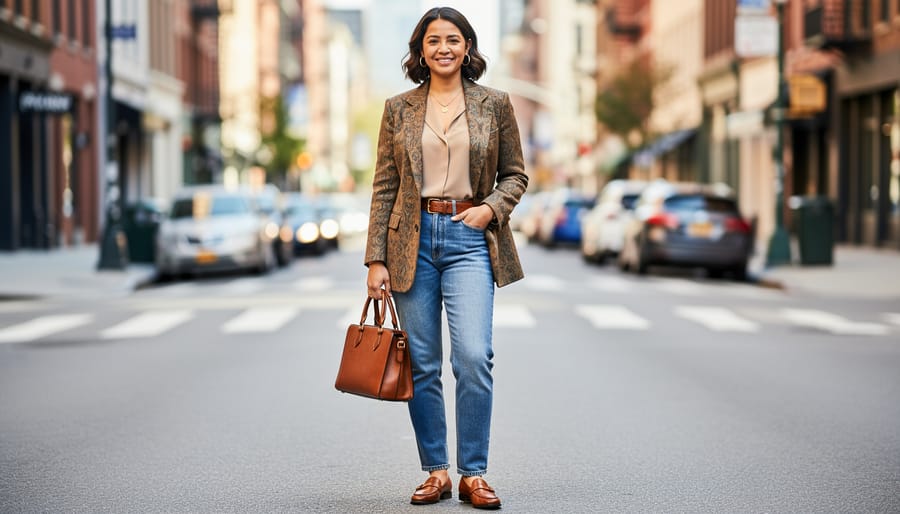
Accessories transform a collection of clothes into a polished ensemble, and thrift stores overflow with unique pieces that can elevate your look for just a few dollars. Start with shoes, they ground the entire outfit, so choose a pair that matches your color story and occasion. A classic leather boot or clean white sneaker works with most ensembles, while a bold heel or patterned flat can echo colors from your statement piece.
Bags come next. Look for structured shapes in complementary neutrals or a fun pop of color that ties back to your outfit. Don’t stress over minor wear, a vintage leather handbag with character often looks better than something pristine.
Belts define your silhouette and create visual interest at the waistline. A simple leather belt in brown or black is endlessly versatile, while a statement buckle or woven design adds personality. Try cinching an oversized blazer or defining the waist on a flowy dress.
For jewelry, mixing metals is absolutely fine, gold and silver together feels current and collected. Choose scale based on your neckline and overall vibe: chunky statement necklaces balance simple tops, while delicate chains suit busier patterns.
Scarves add texture and movement. Silk squares, knit infinity scarves, or lightweight cotton options can introduce pattern or soften a structured look. When in doubt, hold each accessory against your outfit and trust your instinct, if it feels like too much, it probably is.
Step 5: Try Everything On Together
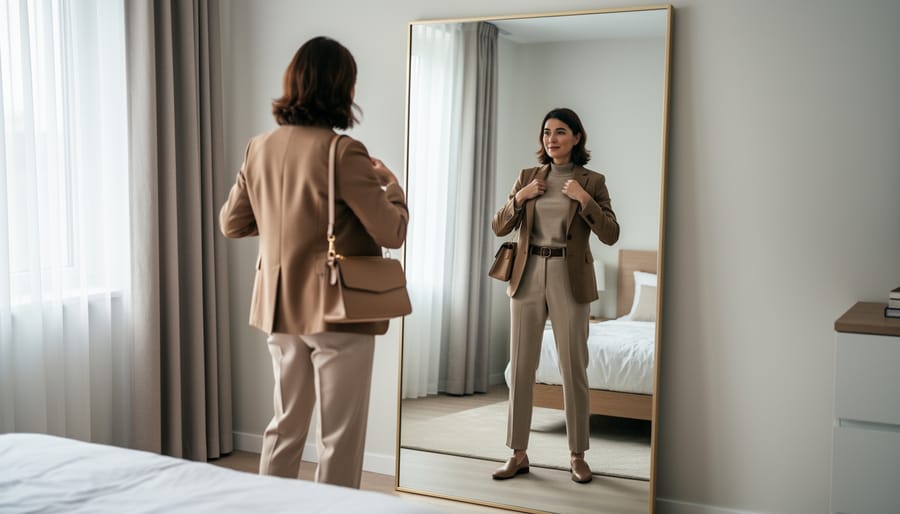
Before you head to the checkout, find a fitting room and put everything on together. This is your chance to see whether the pieces actually work as one outfit or if they clash when combined. Check the proportions, do the lengths balance each other, or does a cropped jacket make your high-waisted trousers look awkward? Move around, sit down, raise your arms. If something pinches, rides up, or feels restrictive, it won’t get worn at home no matter how good the deal seemed.
Step back and assess the overall vibe. Does the ensemble feel like you, or are you trying to force a look that doesn’t match your lifestyle? Sometimes one piece throws off the whole balance, and swapping it for another option from your pile can transform the outfit. If the fitting room doesn’t have good lighting or a full-length mirror, snap a quick photo to review later, photos reveal proportion issues your eye might miss. When you shop online thrifts you lose this try-on advantage, which makes in-store ensemble building especially valuable. Don’t rush this step; it’s the difference between a closet full of possibilities and a pile of regret purchases.
Testing Your Ensemble and Planning Next Steps
Before you head home with your thrift haul, take a moment to evaluate whether your ensemble truly works. Stand in front of a mirror and ask yourself three questions: Does this outfit feel like me, or am I wearing someone else’s style? Can I wear at least three of these pieces in other combinations? Would I feel confident if someone asked to take my photo in this ensemble? If you answer yes to all three, you’ve built something worth keeping.
The photograph test is surprisingly revealing. Use your phone to snap a quick picture of yourself in the full outfit. Sometimes combinations that look great in person fall flat on camera, or vice versa. Pay attention to proportions, if your torso looks oddly compressed or your legs seem shorter than usual, adjust the layering or try a different shoe height. This same photo becomes useful later when you’re getting dressed at home and can’t remember how you styled that vintage blazer.
Once you’re home, give your thrift finds proper care before adding them to your wardrobe. Wash or dry-clean everything according to fabric labels, even if items look clean. Steam or iron pieces to see how they’ll actually look when worn properly. This is when you’ll spot minor issues, a missing button, a loose hem, a zipper that sticks slightly. Most of these fixes take under ten minutes with basic sewing skills, and they’re absolutely worth doing.
If something doesn’t work quite right after washing, don’t let it languish in your closet. Either donate thrift finds that miss the mark, or invest in small alterations that make the piece wearable. Hemming pants, taking in a waist, or shortening sleeves costs far less than buying new, and transforms an almost-right piece into a perfect one.
As you build multiple ensembles, you’ll notice certain pieces appear in outfit after outfit. Those workhorses become the foundation of your thrifted capsule wardrobe. Track which items earn their closet space and which ones you skip over repeatedly. This pattern reveals your true style preferences and guides smarter shopping on your next thrift run.
Common Questions About Building Thrift Store Outfits
Can I mix vintage pieces from different decades in one ensemble?
Absolutely, mixing eras creates some of the most interesting, personalized looks. The trick is finding a common thread like color, texture, or silhouette that ties different decades together, so a 1970s blouse can absolutely work with 1990s jeans if they share a similar vibe or palette.
How do I deal with sizing inconsistencies across vintage pieces?
Always try things on and bring a measuring tape, since vintage sizing runs smaller and varies wildly by era and brand. Focus on how pieces actually fit your body rather than the size on the tag, a vintage size 12 might be today’s size 6, and that’s completely normal.
How many pieces actually make an ensemble?
A complete ensemble typically includes 4-7 pieces: your statement item, one or two basics, a layering piece, and 2-3 accessories. That said, some of my best outfits are just three perfectly-chosen thrift finds, so let the pieces themselves guide you rather than hitting an arbitrary number.
What’s a reasonable budget for a complete thrift store outfit?
You can build a solid ensemble for $20-$40 at most thrift stores, though this varies by location and the quality of pieces you’re hunting. I’ve created outfits I wore for years spending just $15 total, and I’ve also splurged $50 on a single vintage coat that became the foundation for multiple ensembles.
The biggest question I hear from new thrift shoppers is whether to walk into the store with a specific ensemble in mind or let it develop organically as you browse. Honestly, both approaches work beautifully, and I switch between them depending on my needs. When I’m hunting for best online deals or restocking basics, I’ll have a clear shopping list, black trousers, neutral cardigan, leather belt. But some of my most creative ensembles happened when I spotted an unexpected patterned skirt and built an entire outfit around it on the spot.
If you’re just starting out with ensemble building, I’d recommend a hybrid method: bring a mental list of gaps in your wardrobe, but stay open to inspiration. Maybe you need work pants, but if you find an incredible vintage blazer that sparks joy, grab it and start building around that instead. The thrill of thrifting is stumbling onto pieces you didn’t know you needed, then watching them transform your entire style. Trust your instincts, stay flexible with your plan, and remember that the best ensembles often surprise you.
Building fashion ensembles from thrift store finds isn’t just about saving money, it’s about expressing yourself in ways that fast fashion never could. Every secondhand piece carries its own history, and when you combine them into an outfit that’s completely yours, you’re creating something no one else will have.
You’ve learned the steps, from choosing that perfect statement piece to pulling together colors and accessories that make the whole ensemble sing. Now comes the fun part: putting these skills to work and watching your personal style evolve. Some combinations will surprise you. Others might need tweaking. That’s the beauty of thrifting, you get to experiment without the pressure of perfection or the guilt of waste.
The most stylish people aren’t following trends; they’re mixing eras, textures, and unexpected pieces in ways that feel authentic. Your thrift store ensembles can do exactly that while keeping perfectly good clothing in circulation and out of landfills.
So grab those reusable bags, trust your instincts, and start building outfits that tell your story. The racks are waiting, and your next favorite ensemble is out there.