
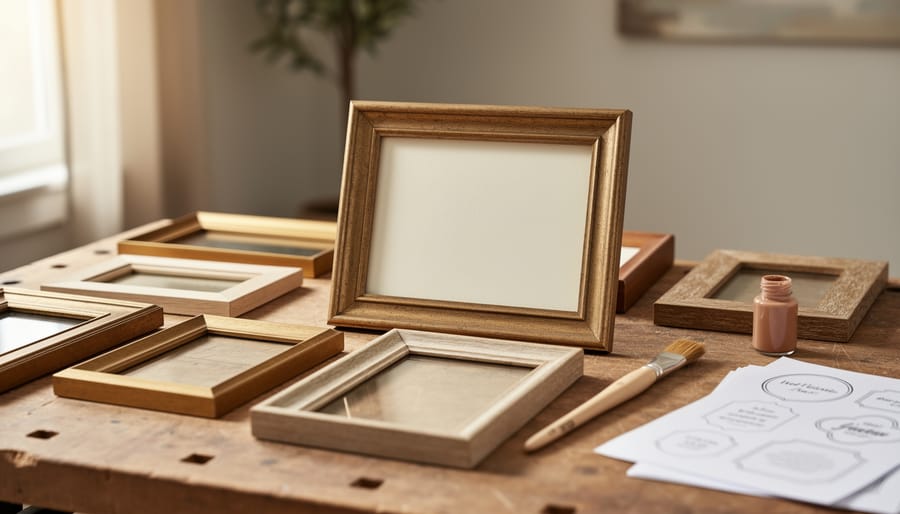
Creating personalized quote wall art costs under $20 and takes about two hours, using thrift store frames, free printable templates, and basic craft supplies you probably already own. This DIY project lets you turn favorite song lyrics, motivational quotes, or meaningful phrases into gallery-worthy decor that actually reflects your personality instead of looking like mass-produced filler art. The method is simple: select or design your quote, print it on quality paper or paint it by hand, then frame and arrange pieces in a way that transforms a blank wall into a conversation starter.
The real beauty of DIY quote art is how endlessly customizable it becomes. You’re not stuck with generic “Live, Laugh, Love” prints or spending $100 on pre-made canvases that show up in half your friends’ homes. Thrift stores overflow with inexpensive frames in varied sizes that you can paint, distress, or leave as-is for an eclectic gallery wall effect. Meanwhile, online font libraries and design tools make it easy to match typography to your room’s vibe, whether that’s minimalist modern, boho farmhouse, or moody maximalist.
Beyond the cost savings, making your own quote art means the words genuinely matter to you. Pick a line from the song that got you through a breakup, a mantra that grounds your morning routine, or even an inside joke that makes your household smile. That personal connection turns wall decor into something with actual soul.
What You’ll Need: Tools and Materials
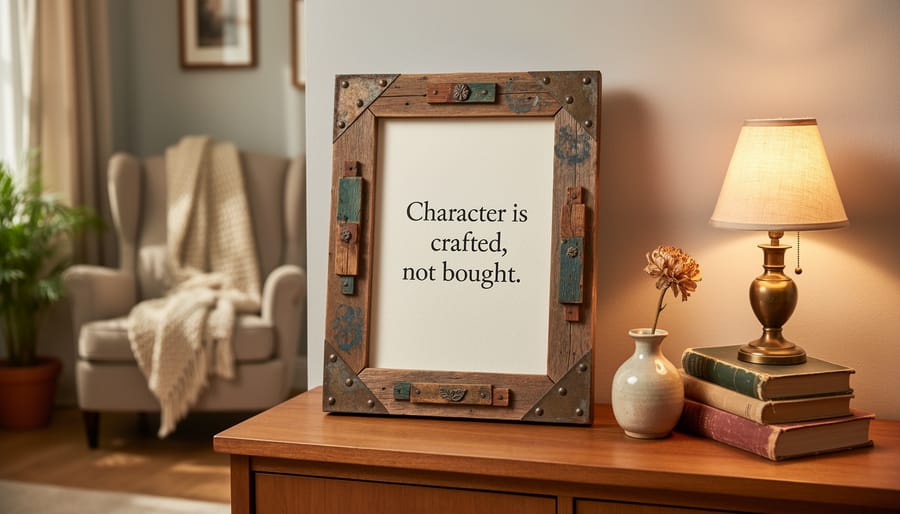
Gathering your supplies is the fun part, it’s like a treasure hunt through thrift stores and your own closet. I’ve created dozens of quote wall art pieces spending less than $5 each, and you can too. The key is knowing what to look for and where to find it secondhand.
- Base materials: Old picture frames (remove the glass), stretched canvas, or thin wood boards from thrift stores, look in the art section and furniture aisles for $1-3 finds
- Paint supplies: Acrylic craft paint in your chosen colors, available at thrift stores still sealed or barely used for under $2 per bottle
- Text application tools: Letter stencils from craft sections, printed quotes on cardstock, or leftover vinyl scraps, I’ve found full stencil sets for 50 cents
- Brushes and applicators: Foam brushes or inexpensive paintbrush sets, often donated unused to thrift stores in the craft area
- Finishing supplies: Clear acrylic sealer spray (buy new for quality) or Mod Podge, sandpaper for distressing, and picture hanging wire or sawtooth hangers
- Transfer materials: Graphite paper, carbon paper, or chalk for tracing if you’re hand-lettering your quote
Don’t overlook the home goods section for unexpected bases, I once turned a thrifted wooden cutting board into stunning kitchen quote art for my sister’s birthday. Check the frames carefully for sturdy backing; warped frames work fine if you’re just using the frame itself. Estate sales and garage sales toward closing time often yield bags of craft supplies for a couple dollars.
The only items worth buying new are spray sealant and certain adhesives, since old supplies can dry out or yellow your finished piece. Everything else? Fair game for secondhand shopping.
Before You Start: Important Safety and Prep Tips
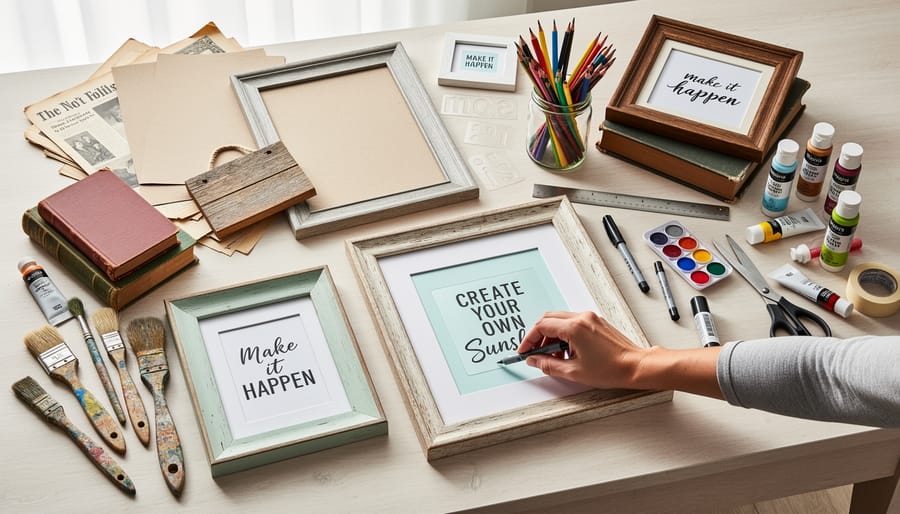
Before you dive into creating your quote wall art, let’s talk about keeping your workspace safe and your thrifted materials ready to shine. Trust me, I learned the hard way that skipping prep work just means doing it twice.
If you’re cutting wood or working with power tools to customize your base, wear safety glasses and keep your workspace clear of clutter. When I’m sawing down an old pallet board or trimming a frame, I always double-check that cords aren’t in my path and that my cutting surface is stable.
Speaking of workspace setup, protect your surfaces religiously. Lay down newspaper, drop cloths, or old sheets before you start painting. I once got white paint on my kitchen table during a late-night creative burst, and it’s still there as a reminder. If you’re using spray paint or sealant, work outside or in a garage with the door wide open, those fumes build up faster than you’d think.
Here’s a game-changer: test everything on scrap material first. That gorgeous frame you scored for two dollars might have a finish that makes paint bead up, or your stencil adhesive might pull off the background color. Spend five minutes testing on cardboard or an inconspicuous corner, and you’ll save yourself from heartbreak later. I always keep a small test board handy for checking paint colors and techniques before committing to my actual piece.
Step-by-Step: Creating Your Quote Wall Art
Preparing Your Canvas or Base
Start by giving your thrifted base a thorough cleaning. I learned this the hard way when paint peeled off a “clean” frame that still had invisible furniture polish residue. Wipe down wood or frames with a damp cloth and mild soap, then let everything dry completely. For canvas with existing art, you have two options: sand it lightly to create tooth for new paint, or apply gesso to create a fresh surface.
If you’re working with wood, now’s the time to sand any rough spots. A quick pass with 120-grit sandpaper smooths imperfections and helps paint adhere better.
For your background, consider what will make your quote pop. White or cream creates a clean modern look, while darker colors add drama. I’ve had great success with chalk paint from thrift stores, it covers old finishes beautifully without priming. Apply two thin coats rather than one thick coat to avoid drips.
Don’t stress about covering every scratch or dent. Those imperfections add character and reinforce the thrifted aesthetic. That small chip in the corner of my favorite piece reminds me of its story.
Choosing and Sizing Your Quote
Picking the right quote is half the fun. I always start by thinking about where the piece will hang and what vibe I want. A bedroom might call for something calming or motivational, while a kitchen could handle something playful or food-related. Keep quotes short for impact, three to seven words hit hardest from across a room. Longer quotes work better on larger canvases where you can size text at least two inches tall for comfortable reading from six feet away.
For smaller pieces (8×10 or less), stick to single lines. Medium canvases (16×20) can handle two or three lines comfortably. On a big piece, you’ve got room to play, but resist cramming too much text. White space is your friend.
Free tools like Canva make sizing a breeze. Type your quote, experiment with fonts, then screenshot it to use as a reference while you work. I also love printing test versions on regular paper and taping them up to check readability before committing paint to canvas. If you squint and can’t read it easily, go bigger.
Transferring Your Text
Getting your chosen quote onto the base is where things get exciting. I’ve tried every method under the sun, and each has its sweet spot depending on your confidence level and the look you’re after.
Stenciling works beautifully if you want crisp, uniform letters. You can make DIY stencils by printing your quote, taping it to cardboard from a cereal box, and carefully cutting out each letter with a craft knife. Secure with painter’s tape and dab paint through the openings with a foam brush. The downside? Cutting intricate letters takes patience, and paint can seep under the edges if you’re not careful.
Hand-lettering gives you that authentic, one-of-a-kind charm. Sketch your quote lightly in pencil first, then paint over with a fine brush or paint pen. This method shines for casual, imperfect styles but demands a steady hand. I always keep a damp cloth nearby to wipe away wobbly attempts before the paint dries.
Vinyl lettering from thrift store contact paper or shelf liner is my secret weapon. Cut letters with scissors or a craft knife, peel, stick, paint around them, then remove for perfectly clean edges. It’s forgiving and beginner-friendly.
Printable transfers let you print your quote on transfer paper and iron it onto fabric-covered canvases. Quick and foolproof, though you’re limited to fabrics.
Projection tracing involves projecting your design from a phone or laptop onto your surface and tracing the outline. Zero artistic skill required, but you’ll need dim lighting and a way to prop up your device at the right angle.
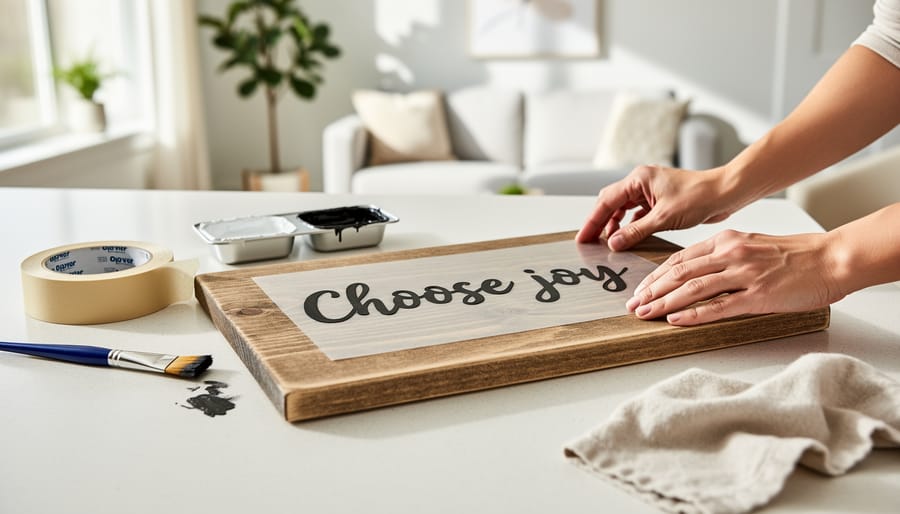
Adding the Finishing Touches
Once your text is in place and dry, it’s time to protect and personalize your creation. I always seal my quote art with a clear acrylic spray or brush-on polyurethane, this prevents chipping and makes the piece easy to dust later. Work in a well-ventilated area and apply two to three light coats rather than one heavy layer, which can cause drips or cloudiness.
Now comes my favorite part: raiding your thrift haul for embellishments. Small decorative buttons, vintage ribbon scraps, or even broken jewelry can add dimension to corners or borders. I once hot-glued antique book pages around the edges of a quote frame for texture, it cost nothing and looked intentional. Press flowers, lace doilies, or fabric remnants work beautifully too. Just remember that less is more; the quote should stay the star.
For a vintage look, lightly sand the edges of your frame or canvas after everything’s dry. This distressing technique reveals the wood underneath painted surfaces and gives instant character. You can also dab a bit of watered-down brown paint into corners with a sponge for an aged patina.
Finally, attach your hanging hardware. D-rings with picture wire work for heavier pieces, while sawtooth hangers suit lightweight canvas. Position them a third of the way down from the top edge for proper balance. Test the weight on your hook before committing it to the wall, nobody wants their masterpiece crashing down at midnight.
How to Tell Your Quote Art is Display-Ready
Before you hang your masterpiece, run through this quick quality check. I learned the hard way after rushing to display a piece only to find smudged paint the next morning.
Start with the touch test. Acrylic paint typically dries within a few hours, but spray paint and certain sealants need a full day or two. If you used multiple layers or thick paint, give it the extra time. Press a fingertip lightly on a hidden edge, it should feel completely dry and resist any indentation.
Step back and view your quote from across the room. Can you read every word clearly? If you’re squinting or struggling with certain letters, now’s the time to touch up with a small brush or add contrast. I’ve salvaged pieces by simply outlining faded letters with a darker shade.
Check your sealant by running your hand across the surface. It should feel smooth and protected, not sticky. If it’s still tacky, wait another 12 hours. Finally, give your hanging hardware a firm but gentle tug. Nothing kills the joy of a DIY project faster than watching it crash off the wall during your first dinner party.
Styling Ideas and Where to Display Your Creation
Your finished quote art deserves the perfect spot to shine. I’ve found that the best placement depends on the quote’s vibe, motivational sayings work beautifully in home offices or workout spaces, while calming phrases suit bedrooms and reading nooks. My “She believed she could, so she did” piece landed above my desk where I see it every morning, and it genuinely helps on rough days.
Consider creating a quote gallery wall by mixing different sizes and frame styles you’ve collected from thrift stores. I started with three pieces and gradually added more over six months as I found interesting frames. The mismatched look actually enhances the charm when you use a consistent color palette, all white frames with black text, or natural wood with neutral lettering.
Your thrifted quote art pairs perfectly with other secondhand finds. Try clustering your pieces near vintage mirrors, woven baskets, or reclaimed shelving. The texture variety creates visual interest without clashing. Above a thrifted console table or mantel works especially well, since you can rotate pieces seasonally.
Unexpected spots can make the biggest impact. Bathroom walls, closet interiors, and even kitchen backsplash areas become personal when you add meaningful words. Just ensure you use proper sealant in moisture-prone areas.
Once you’ve mastered the technique, building a collection becomes addictive. I keep a running list of quotes that resonate with me, and whenever I spot a cheap frame at the thrift store, I know exactly what to create next.
Common Questions About DIY Quote Wall Art
What’s the best paint for preventing bleed-through on text?
Acrylic craft paint works well for most projects, but seal your base with a coat of gesso or white primer first if you’re working on porous wood or fabric-covered frames. For crisp edges with stencils, use a nearly-dry brush and dab rather than stroke the paint on.
Do I need artistic skills to make good-looking quote art?
Not at all. Stencils, vinyl letters, and printable transfers let anyone create professional-looking pieces without hand-lettering experience. Start with simple fonts and shorter quotes while you build confidence.
How do I choose a quote that won’t feel dated in six months?
Pick quotes that connect to your values or memories rather than trending phrases. Personal mantras, lines from favorite books, or family sayings tend to stay meaningful longer than viral Instagram quotes.
Will my thrifted piece hold up long-term?
Yes, if you seal it properly. Two coats of clear acrylic sealer protect your work from dust and fading, especially important for pieces in sunny spots or high-traffic areas like kitchens.
If your letters look wobbly after removing a stencil, keep a small brush and your base paint handy for quick touch-ups. Mistakes happen, but they’re easy to cover and redo. The beauty of working with thrifted materials means you can experiment without worrying about wasting expensive supplies, so don’t stress about getting everything perfect on the first try.